Warning!!!!: DURING FUEL PRODUCTION AND HANDLING, ALWAYS KEEP IN MIND THAT IT IS IGNITABLE. TAKE PROPER PRECAUTIONS IF THE FUEL WERE TO IGNITE. TREAT FUEL WITH CARE. DO NOT ALLOW FUEL TO TOUCH ANY SOURCE OF HEAT. HAVE FIRE RETARDENT SYSTEMS NEARBY JUST IN CASE (FIRE EXTINGUISHER.) MAKE SURE FUEL IS NOT TO CLOSE TO OPEN FLAME OR HOT OVEN HEATING BARS. USE PROPER HAND PROTECTION (MITTS) WHEN HANDLING HOT OBJECTS, I.E. HOT FUEL, PANS, ETC. AGAIN, I AM NOT RESPONSIBLE FOR ANY DAMAGE. THESES ARE INSTRUCTIONS ARE FOR EDUCATIONAL PURPOSES ONLY AND IT IS YOUR RESPONSIBILITY IF YOU CHOOSE TO ATTEMPT THIS PROJECT.
Alright, so lets talk about this KN/Sucrose Fuel.
1. What exactly does KN/Sucrose mean?
The "KN" parts stands for Potassium Nitrate. The correct lettering for Potassium Nitrate is "KNO3". The "sucrose" is another word for sugar, which is obtained from straight sugar cane and karo syrup.
2. What are the upsides to using this fuel?
The biggest upside to this fuel in my opinon is how safe to handle the fuel is when compared with other options. It takes alot of heat to get started. Another upside is that it is just the right pressure to be handled by the motors we have built if constructed right. It can be reheated until soft and molded into just about any shape.
3. What are some downsides to using this fuel?
It is somewhat hard to make without any experience in production. This can lead to some waste while your getting used to making it. Potassium Nitrate, is not an easy chemical to find nowadays and usually has to be ordered. The fuel is very hygroscopic....(what the hell does that mean?) Well, hygroscopic means if left out in normal atmosphere it will suck up moisture at unbeleivable rates and destroy itself into a pile of unusuable goo. But with proper airtight storage, the fuel can be stored indefinantly until it is needed.
4. Where the heck do I find KNO3 (AKA Saltpeter or Potasium Nitrate)?
I have ordered KNO3 from two places so far. Both sources of KNO3 seemed to work just about the same:
1. Ebay Seller:
"orionspyramid"
2. Website:
PMDD Store
This information is paraphrased from an email received from "Casper".
3. Pharmacy: I get all of my supply at a local drug store. I simply told them that I wished to order potassium nitrate (or salt petre, but make sure that it is KNO3 and not NaNO3, potassium is much better) for a science project. I wished to make rocket propellant. They were very enthusiastic! I also get my sulfur supply from the same drug store. (Just ask for flowers of sulfur, or sublimated sulfur). Both are of high purity and technical grade. They sell in any quantity, and have the product for me the next day, without a shipping charge! I initially tried a couple in-store drug stores, including K-MART and Wal-MART. They are not very helpful and will not order anything for anyone. But local ones seem extremely helpful, friendly, and courteous, as well as interested in the subject itself. I also asked for a couple other chemicals, including ammonium perchlorate. They did not carry them, but certainly would have offered them if they had! I hope that this may help you. Perscription / general store type drug stores. The kind that one would generally find full of elderly people. A name such as < "your city name" drug > might be common.
5. What is Karo Syrup (If your from outside the U.S.)?
Karo Syrup is basically sweetened corn syrup. It comes in diffrent forms, like light or dark. For this fuel we will be using light Karo corn syrup. If you can find light corn syrup outside the U.S. it will most likely work for this project. Please email me any details on what people have substitued for Karo syrup and if it worked and I will post your information to this page.
"Honey works OK as a substitute for corn syrup but makes the resulting propellant more hygroscopic." - Killer Wolve
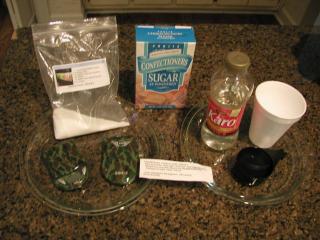
Parts List:
1. Potassium Nitrate (100grams per batch of fuel)
2. Styrofoam Cup (1 per batch of fuel)
3. Freezer Paper
4. Weight or Scale (accurate to within a gram and max weight of at least 100grams.)
5. 1/3 cup measuring tool.
6. (2)- 9 inch diamter shallow glass pie plates
7. Karo Syrup (18 grams per batch of fuel)
8. Pure Sugar Cane Sugar (granular or powdered, your choice, 50 grams per batch of fuel)
9. Spoon (one that you don't mind reusing for just this project.)
Let's get down to the making of the fuel already:
Step 1:
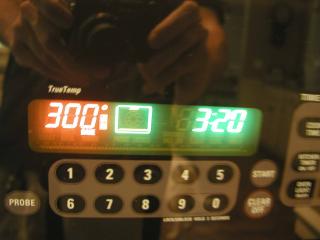
Go ahead and preheat the oven to 300 degrees fahrenheit while everything else is going on.
Step 2:
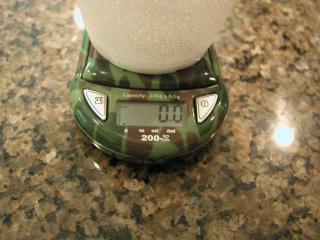
Turn your scale on (if its electronic) and place your styrofoam cup on the scale. Zero out the scale to cancel out the weight of the cup.
Step 3:
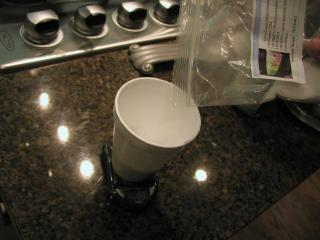
Measure out 100 grams of KNO3 (Potassium Nitrate) into the styrofoam cup. Place the measured out quanity into a cold sauce pan.
Step 4:
Make sure the styrofoam cup is re-zeroed on the scale and add 50 grams of white cane sugar. Place the measured out quanity into the cold sauce pan.
Step 5:
Again zero out the scale with the styrofoam cup and measure out 18 grams of Karo Syrup. Place the measured out quanity into the cold sauce pan.
Step 6:
Now add 1/3 cup of water to the sauce pan.
Step 7:
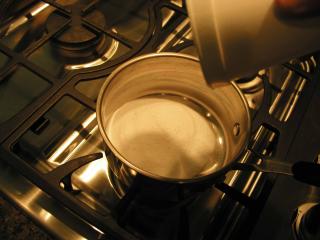
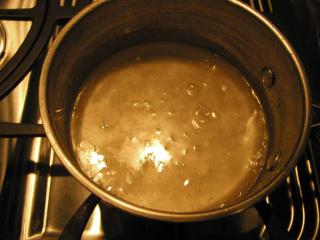
Place the sauce pan on medium-low heat and heat the ingredients. What we are trying to do is dissolve all the ingredients until they come out clear.
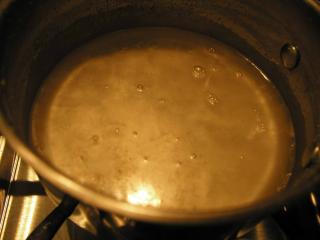
Step 5: The mixture should come to a "slow" boil. This is about ready...
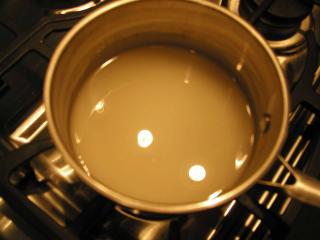
This is now ready, should be clear but the lights make it look yellowish.
Step 6:
When the slow boiling ingredients get to a clear state, take the pan off the heat and put equal amounts of the clear solution into both of the 9 inch pie plates waiting nearby.
Step 7:
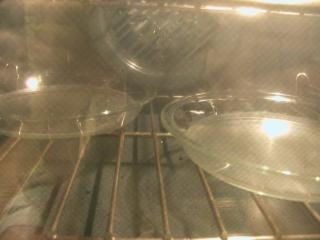
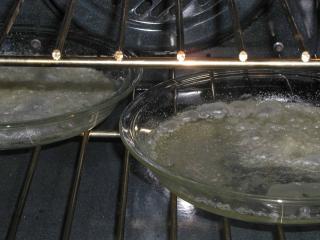
Quickly, but carefully, place both of the pie plates into the preheated 300 degree farenhiet oven. Ensure that the pie plates are not anywhere near contact of the heat sources (heating element) The middle rack of the oven is the best place. Now set your timer for 40 minutes. While the solution is busy recrystallizing make sure to lay out a piece of wax paper somewhere useful and have some oven mitts and a spoon handy.
Step 8:
You should be checking the solution during the 40 minutes just ensuring it hasnt cooked it self dry on one portion of the plate. You can rotate the pie plate during cooking to ensure an even recrystallization process, but make sure you don't continue to open the oven repeatedly or pop any of the bubbles, as this will seriously impede recrystallization.
Step 9:
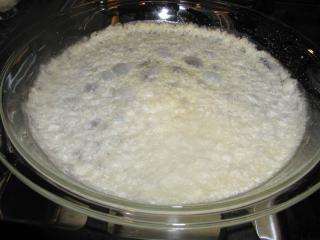
At 40 minutes the fuel should be ready to take out or really close. Oven will vary anywhere from 35-55 minutes, thats why I said to continue to check the fuel. What your looking for is the water to just about be cooked out of it and flakes start to form. If the fuel starts to just yellow, its ready.
Step 9:
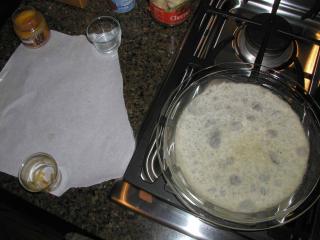
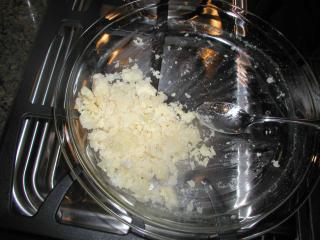
Now with your spoon and one hand with a mitt on it, take your spoon and start scraping the fuel off the plate and loosening it. Rotate the plate with your mitted hand to get all of the fuel scrapped. Do the same thing with the other plate.
Step 10:
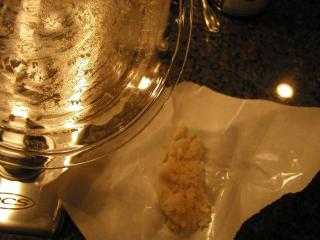
Now, take a small portion of fuel, and roll it into a small 1 inch portion stick, about 1/8 in diameter. You can use the wax paper to help. Why are we doing this? This will be our test stick to see what the impulse on this fuel is like and to make sure this batch ignites correctly for the rocket engines.
Step 11:
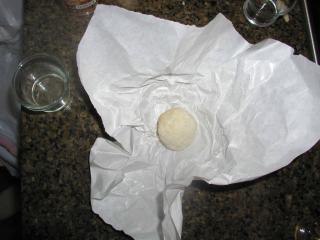
We will repeat this step twice for both pie plates. Take the scrapped fuel in one pie plate and dump onto the wax paper. Now through the layer of wax paper start forming the hot fuel into a ball for storage into a container. The wax helps because the fuel has a hard time sticking and keeps your fingers from getting burnt from the very hot fuel. The only way to form this fuel is when its hot or warm which is kinda annoying but works. Now repeat this for the other pie plate.
Step 12:
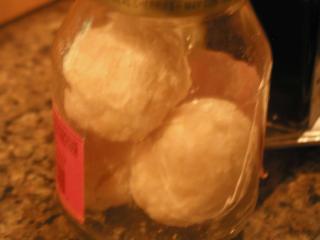
Store the fuel balls or preformed fuel in an airtight non-conductive container. I choose a pre-washed glass cherry container, works great.
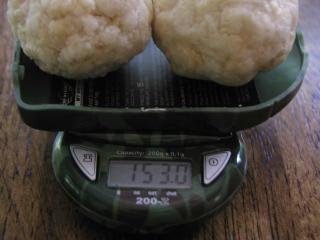
Alternatively, before you put the balls of fuel away for storage you could weigh them to see what you got back from the fuel. I have done the measurements and this is what I got back: 153.0 grams.
(Note that you could even form the big ball into smaller balls or forms for easier molding later on into the rocket fuel molding.)
Step 13:
Remember that stick of fuel that we set aside? Well, lets test this batch through the use of this stick. Take it outside and stick about half of the stick into the ground tightly and light the other one with a grill type lighter. If it takes a second or two of direct flame to ignite, thats a good sign, don't fret. Want you want to see if about a 5-8 second complete burn depending on how long and fat you made your stick. If it sputters the whole way, thats not a good sign and tells you the mixture was still not dry enough to take out of the oven. Like all new things, to get the right fuel mixture in this case takes practice and experience. It took me about 2 batches to get the process down just right. So just stick with it if it didn't work out right the first time.
Yeah, so you now have the fuel. Be careful where and how you store this stuff. This is still a dangerous fuel as anything flammable or combustible is. So be VERY CAREFUL with the fuel.
Now you can move along to the next section:
Section 4: Molding The Fuel
