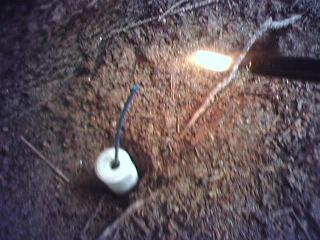
The rocket engine should be handled with great care. Do not allow any nearby heat source (i.e. open flame, heating element, etc.) to come near it. Keep the rocket engine in a airtight container until testing or reload into rocket. Kep the airtight container is a cool, dry place to prolong the life of the rocket engine.
FOR ALL STATIC TESTING FIND A SAFE PLACE TO TEST YOUR MOTORS. YOUR MOTOR CAN BACKFIRE UPON FAILURE OR BREACH OF A TESTING SETUP AND GO FLYING SEVERAL YARDS FROM THE POINT OF ORIGINATION. MAKE SURE THAT THEIR ARE NO BYSTANDERS IN THE DANGER ZONE. DANGER ZONE FOR TESTING IS ANYWHERE WITHIN 100-120 FEET IN A COMPLETE RADIUS. THIS CAN BE WIDENED TO ACCOUNT FOR ANY ANGLE OF THE MOTOR FROM TRUE 0' DEGREES VERTICAL. ENSURE THAT THEY'RE WILL BE NO PROPERTY DAMAGE IF A MOTOR DOES BACKFIRE IN THE DANGER ZONE. THESE MOTORS CREATE INCREDIBLE AMOUNTS OF SMOKE SO TAKE THAT INTO ACCOUNT WHEN SELECTING A SAFE STATIC TESTING AREA.
Sorry about all the safety warning, but I really do wanna stress how dangerous static testing is if not done with safety in mind. Anyway, let move on.....
This section is gonna be in a few parts, since I even haven't prefected the art of static testing. And hell, my static testing methods are not what I call scientifically sound as it is. Anyway, I will show you diffrent methods for testing. This page will be periodically updated to add in new ways or more sound ways of testing as time goes along. In the interest of getting the project to a launchable product, I'm gonna go ahead and just show a few simple ways of testing the motors.
In both of the ignition examples I will explain below, I will be using the "IN GROUND" testing method. Not the best testing method as you can do much else than fire the engine to make sure it works right.
Bridge Gap Ignition:
Step 1.
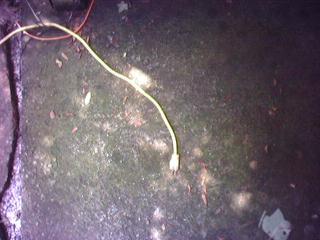
Run an extension cord out to the testing area but !!!!!DO NOT!!!!! plug it in yet.
Step 2.
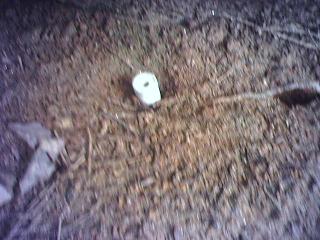
Place the motor header end down (oppisite from the nozzle end) into some firm but soft soil.
Step 3.
Push the bridge gap into the motor nozzle all the way into the hollow core of the fuel or at least until most of the wound turns are touching the fuel.

Step 4.
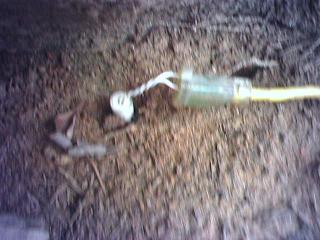
Place the stripped end of the ignitor into the female socket or clp on the alligator clips.
Step 5.
Step back to a safe distance (20 yards or more and behind something if possible) just in case and plug in the extension cord when you are prepared for ignition. Once engine starts unplug cord from power source.

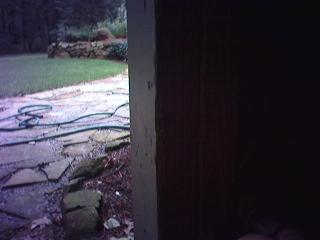
Great paintbrush job, huh?
Step 6.
Watch engine ignition and note any problems.


Video of Proper Engine fire with bridge gap.
(IF ENGINE MISFIRES DO NOT APPROACH FOR A GOOD 2 MINUTES TO ENSURE THAT IT DOES NOT IGNITE WHEN APPROACHED) (MAKE SURE WITH THE BRIDGE GAP METHOD WHENEVER YOU ARE WORKING WITH THE IGNITOR IT IS NOT POWERED UNTIL READY FOR THE ACTUAL IGNITION)
Step 7.
Allow motor tube to cool down after firing and inspect engine for any flaws.
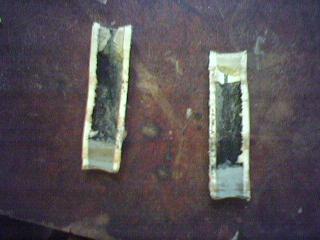
What you are looking for in theses test fires (both bridge gap and rope fuse) is for it two have a 1-2 second burst of complete power. This is what actually propels the rocket. If its a slow but calmer burn that wont be enough power to propel the rocket. If the rocket fails, try do some investigation work, like sawing the engine open to see where it may have failed. The picture above shows a succesful test. Notice how there is no burnthroughs or anything. The nozzle held in ignition, but chipped when sawed open for inspection.
Step 8.
Repeats steps accordingly for any other engines you want to test.
Rope Fuse Ignition:
Step 1.
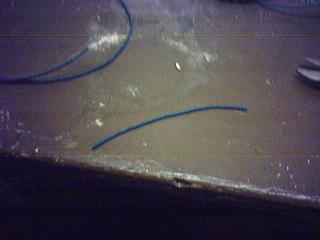
Cut a piece of rope fuse about 6 inches long. (On the type of rope fuse im using this gives me a 5-10 sec delay.)
Step 2.
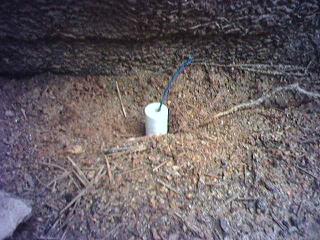
Next, insert the peice of fuse all the way into the rocket and secure with the tip of a toothpick.
Step 3:
Step 4:
Get back to a safe distance like in the paintbrush rendition and watch the igniton.
Video of Eninge Fire using fuse method. (Bad engine, did not fire correctly.)
In recent tests, (2006 test fires,) I have noted that when the fuse is inserted into the engine that is pointed downward has had alot more ignition failures than one pointed upwards with the engine force going against the pad/ground. Fortunately in a real rocket, the engine is always pointing up, with the nozzle pointing toward the ground.
For example: snip a piece of fuse about an inch long. Place on driveway and light on one side. What happens? A mini, unguided, and very quick spent rocket. How does that work? Gas expansion. And like all fires, hot gas is always lighter than air and wants to go up into to the atmosphere. So that would explain why an engine pointing up would always light better than an engine pointing down. Think about it....
Step 5:
Continue with the with step #7 and #8 as layed out in the bridge gap instructions.
