Warning!!!!: DURING FUEL RE-HEATING AND HANDLING, ALWAYS KEEP IN MIND THAT IT IS IGNITABLE. TAKE PROPER PRECAUTIONS IF THE FUEL WERE TO IGNITE. HAVE FIRE RETARDENT SYSTEMS NEARBY JUST IN CASE (FIRE EXTINGUISHER.) TREAT FUEL WITH CARE. DO NOT ALLOW FUEL TO TOUCH ANY SOURCE OF HEAT. MAKE SURE FUEL IS NOT TO CLOSE TO OPEN FLAME OR HOT OVEN HEATING BARS. USE PROPER HAND PROTECTION (MITTS) WHEN HANDLING HOT OBJECTS, I.E. HOT FUEL, PANS, ETC. AGAIN, I AM NOT RESPONSIBLE FOR ANY DAMAGE. THESES ARE INSTRUCTIONS ARE FOR EDUCATIONAL PURPOSES ONLY AND IT IS YOUR RESPONSIBILITY IF YOU CHOOSE TO ATTEMPT THIS PROJECT.
Parts List:
1. (1) "Un-nozzled" rocket motor tube.
2. Hacksaw (or bandsaw if your lucky enough to have one)
3. Ruler (12 inch school type will work perfectly)
4. Piece of computer paper (can be printed on)
5. Plastic Packaging tape
6. Scissors
7. Pen
8. Clean pie plate (what you used for making the fuel)
9. Seperate Airtight container (to keep grain and raw fuel seperate)
10. Medium grit sandpaper.
11. Wax Paper
12. Kabob Skewers
13. Sharp Knife (Scissors may work)
Step 1:
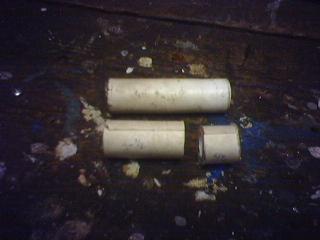
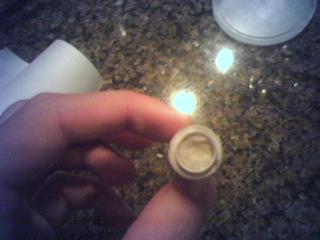
Take the motor tube that you set aside in section 1 and did not make a nozzle for in section 2. Draw a line at 1-1/2 inches and then a line at 5/8 inches from the ending of the first line. Now use the hacksaw or bandsaw to cut across both lines all the way through the tube. You know have three pieces. Throw the small slither that was left over away. Now true up the sides of the tube with sandpaper to make it flat.
Step 2:
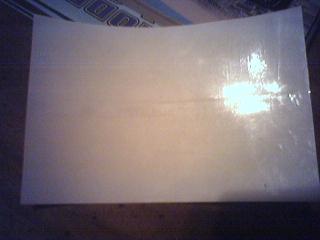
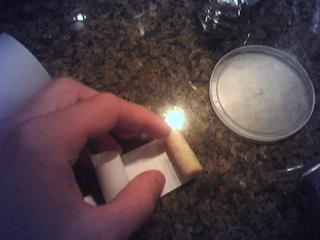
Now lets make the sleeves which will make the fuel slightly smaller than the tube and easier to remove from the tubes. First take a piece of printer paper and lay it on a non-stick surface (i.e. countertop.) Tape two lines of plastic packaging tape. NOT TWO LAYERS.
Step 3:
Next we need to cut the paper to size before we cut the sleeve out. I cut out a rectangle sized piece of taped paper about 3-1/2 x 5 inches to start with. We will keep the 5 inches in length for the sleeves but will have to cut two pieces longwise from the 3-1/2 width for the tubes.
Step 4:
Take your ruler and make two lines with your pen at 1-1/2 inches. Make another line at 5/8 inches from the top of the 1-1/2 inch line.
This may be a little easier to understand.
Step 5:
Go ahead now and cut out the lines and save the remaining third leftover piece as you can make an extra sleeve if a sleeve your using gets messed up over time.
Step 6:
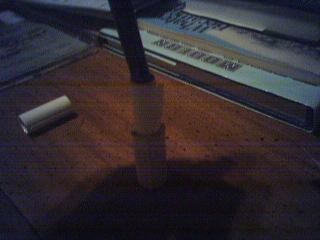
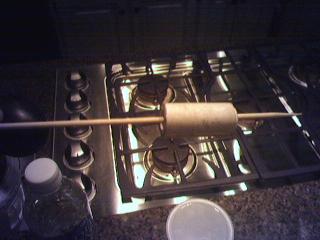
Now for test fitting before we start warming the fuel up. If you can roll by hand the sleeves without making a permanent crease in them thats great. If not, you can use a pen like in the picture below. Now insert the sleeve in the appropriate smaller and larger tubes. If the sleeve is slightly larger than the tube take it out and retrim until its about flush with the tube.
Step 7:
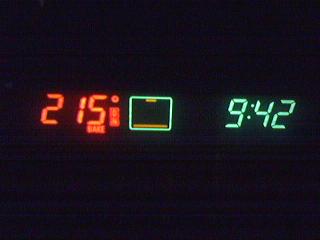
Preheat your oven to 200 degrees. In my case I preheated mine to 215 degrees to account for the 15 degrees that its off when I measured it with an oven thermometer.
Step 8:
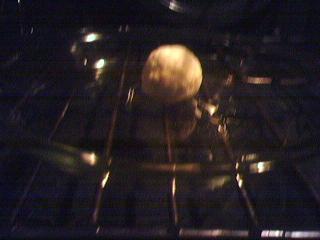
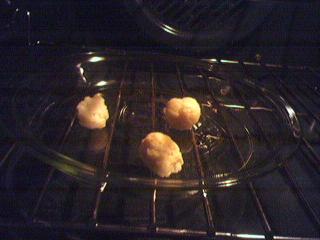
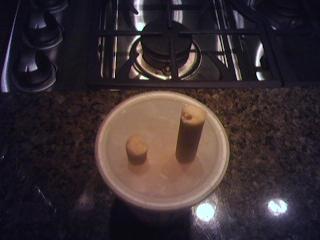
Place one of your larger balls on the glass pie plate we used in making the fuel. And let warm up for about 15-20 minutes.
Step 9:
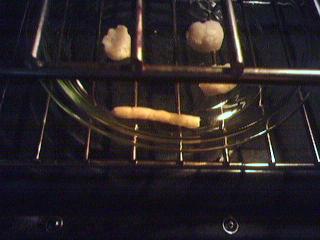
Now take one of the smaller pieces and start rolling by hand if you have enough hand-eye cordination to keep from burning yourself or you can use a piece of wax paper to roll it into a rod through many layers to keep the heat down. Just remember the longer the piece stays warm the easier to mold. You working toward the size of a piece that will just barely fit into a sleeved-tube.
Step 10:
Take the first lither and test fit it in the larger tube. If it barely slides in and out, then you are ready to mold your first piece of fuel. Make sure the piece is nice and hot and then hold the bottom of the tube on a firm surface and compress the fuel in until the fuel is just level with the top of the tube and cut off the remaning amount with a knife or scissors. Return the left over fuel to the oven quickly.
Step 11:
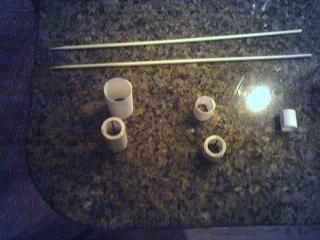
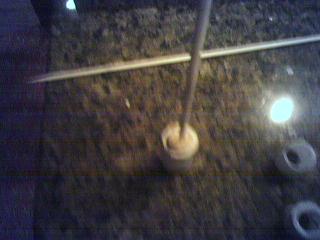
Now take your bamboo skewer pointy side facing the fuel and insert it in the center of the fuel grain.
Step 12:
While the larger tube of fuel is cooling so you can take it of the tube, lets make the ejection charge. On the smaller tube ejection charge DO NOT make a center hole. I repeat, DO NOT MAKE A CENTER HOLE. Take your left over piece if you have enough from the leftover of the larger tube and compress it into the smaller tube form.
Step 13:
Unroll the fuel grains from both tubes when they have cooled and hardened a bit.
Step 14:
Be careful as not to drop the grains as the larger ones will break easily. Now store the grains in an airtight container for storage until construction of the complete motor. Repeat steps# 8-14 until all the fuel you desire has been formed.
Note: You can save the little bits that you can roll into little balls for another fun side project which I will explain later in a seperate airtight container.
Now for the next section where we actually build the first complete motor assembly bringing together everything we have worked up to in the earlier sections:
Section 5: Rocket Motor Construction
